How to Make Beef Jerky in the Oven
Beef jerky is produced through drying lean cuts of meat until the moisture is low enough to avoid spoilage. This transformation makes the meat stable in the stores and easy to preserve for a long time without the need for refrigeration.
A study at the University of Illinois reveals that beef jerky is the best quality protein that has a DIAAS ranking of more than 100. This grade proves its worth in helping to increase muscle mass and overall nutrition.
Oven-drying involves domestic equipment in the dehydration of meat. A baking rack and the tray lined with foil facilitate keeping the air flowing to ensure all the strips dry uniformly.
This is advisable for first-timers. It undergoes a straightforward procedure of cutting, marinating, and drying. Every action depends on proper preparation, not on special gear or high-end skills.

Why Choose the Oven Method for Beef Jerky?
The oven technique does not need any exceptional equipment. The basic tools are already present in most kitchens. This eliminates the investment costs of additional equipment or acquiring new machinery.
This method is not complicated for beginners. The instructions are typical of cooking procedures. There are no technical skills or special tools that pose obstacles when preparing and or drying.
Ovens provide convenient heating. Users dial a certain level, and leave the meat to dry off evenly. This minimizes mistakes, which typically happen in uncontrolled drying methods.
Preparation of small batches allows cost control. It helps to taste the flavors, and it does not waste ingredients. The oven method is feasible to learn and conserve because home cooks have flexible access to adjusting the recipes and preventing overproduction.
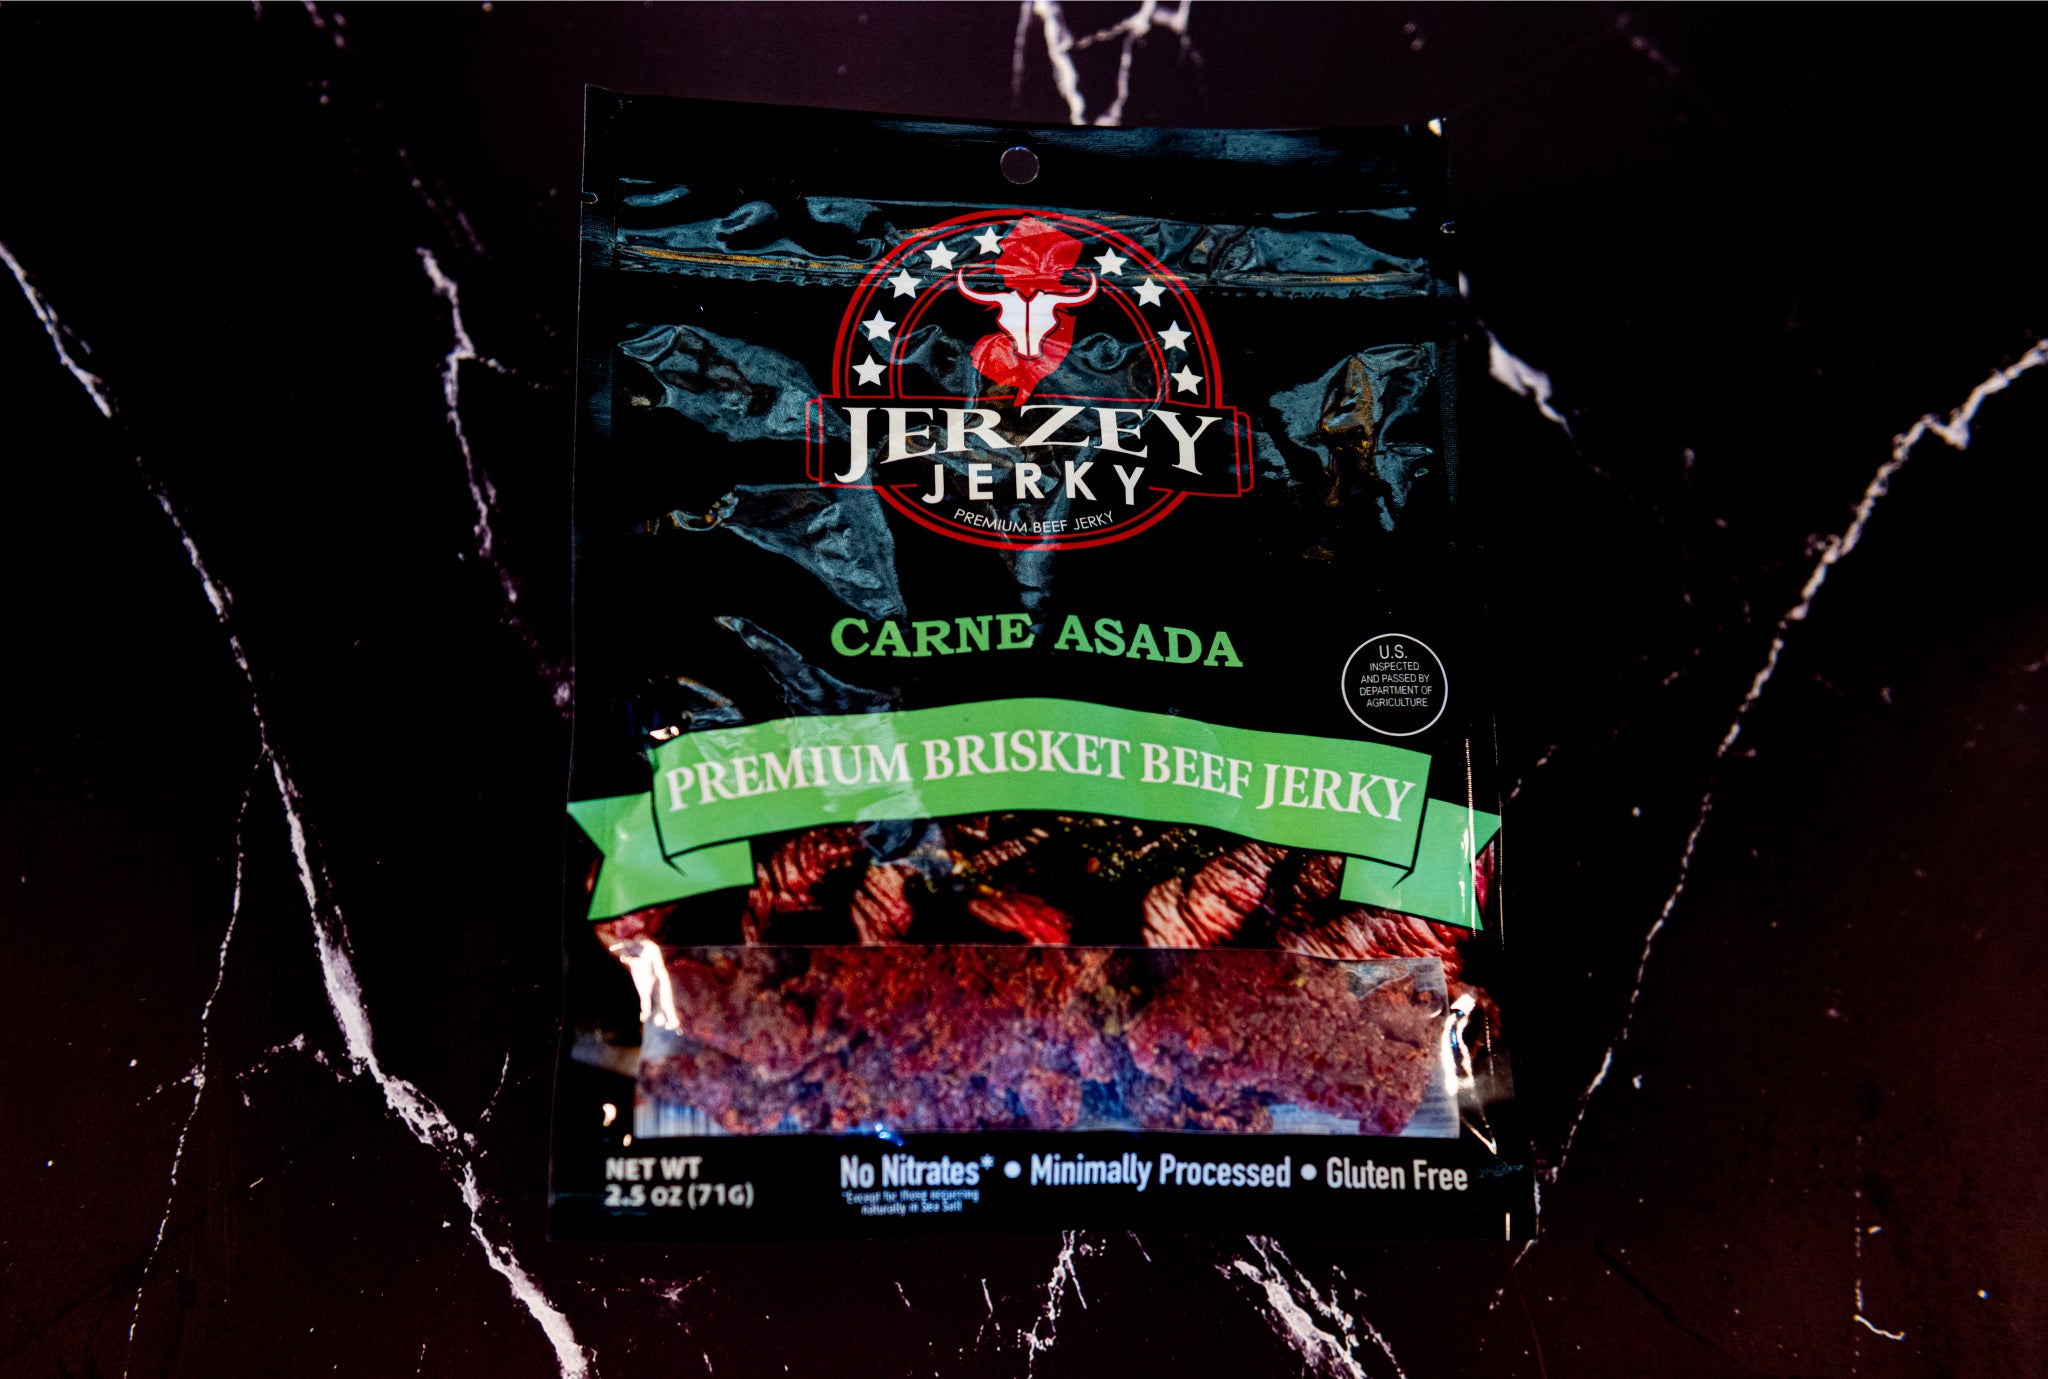
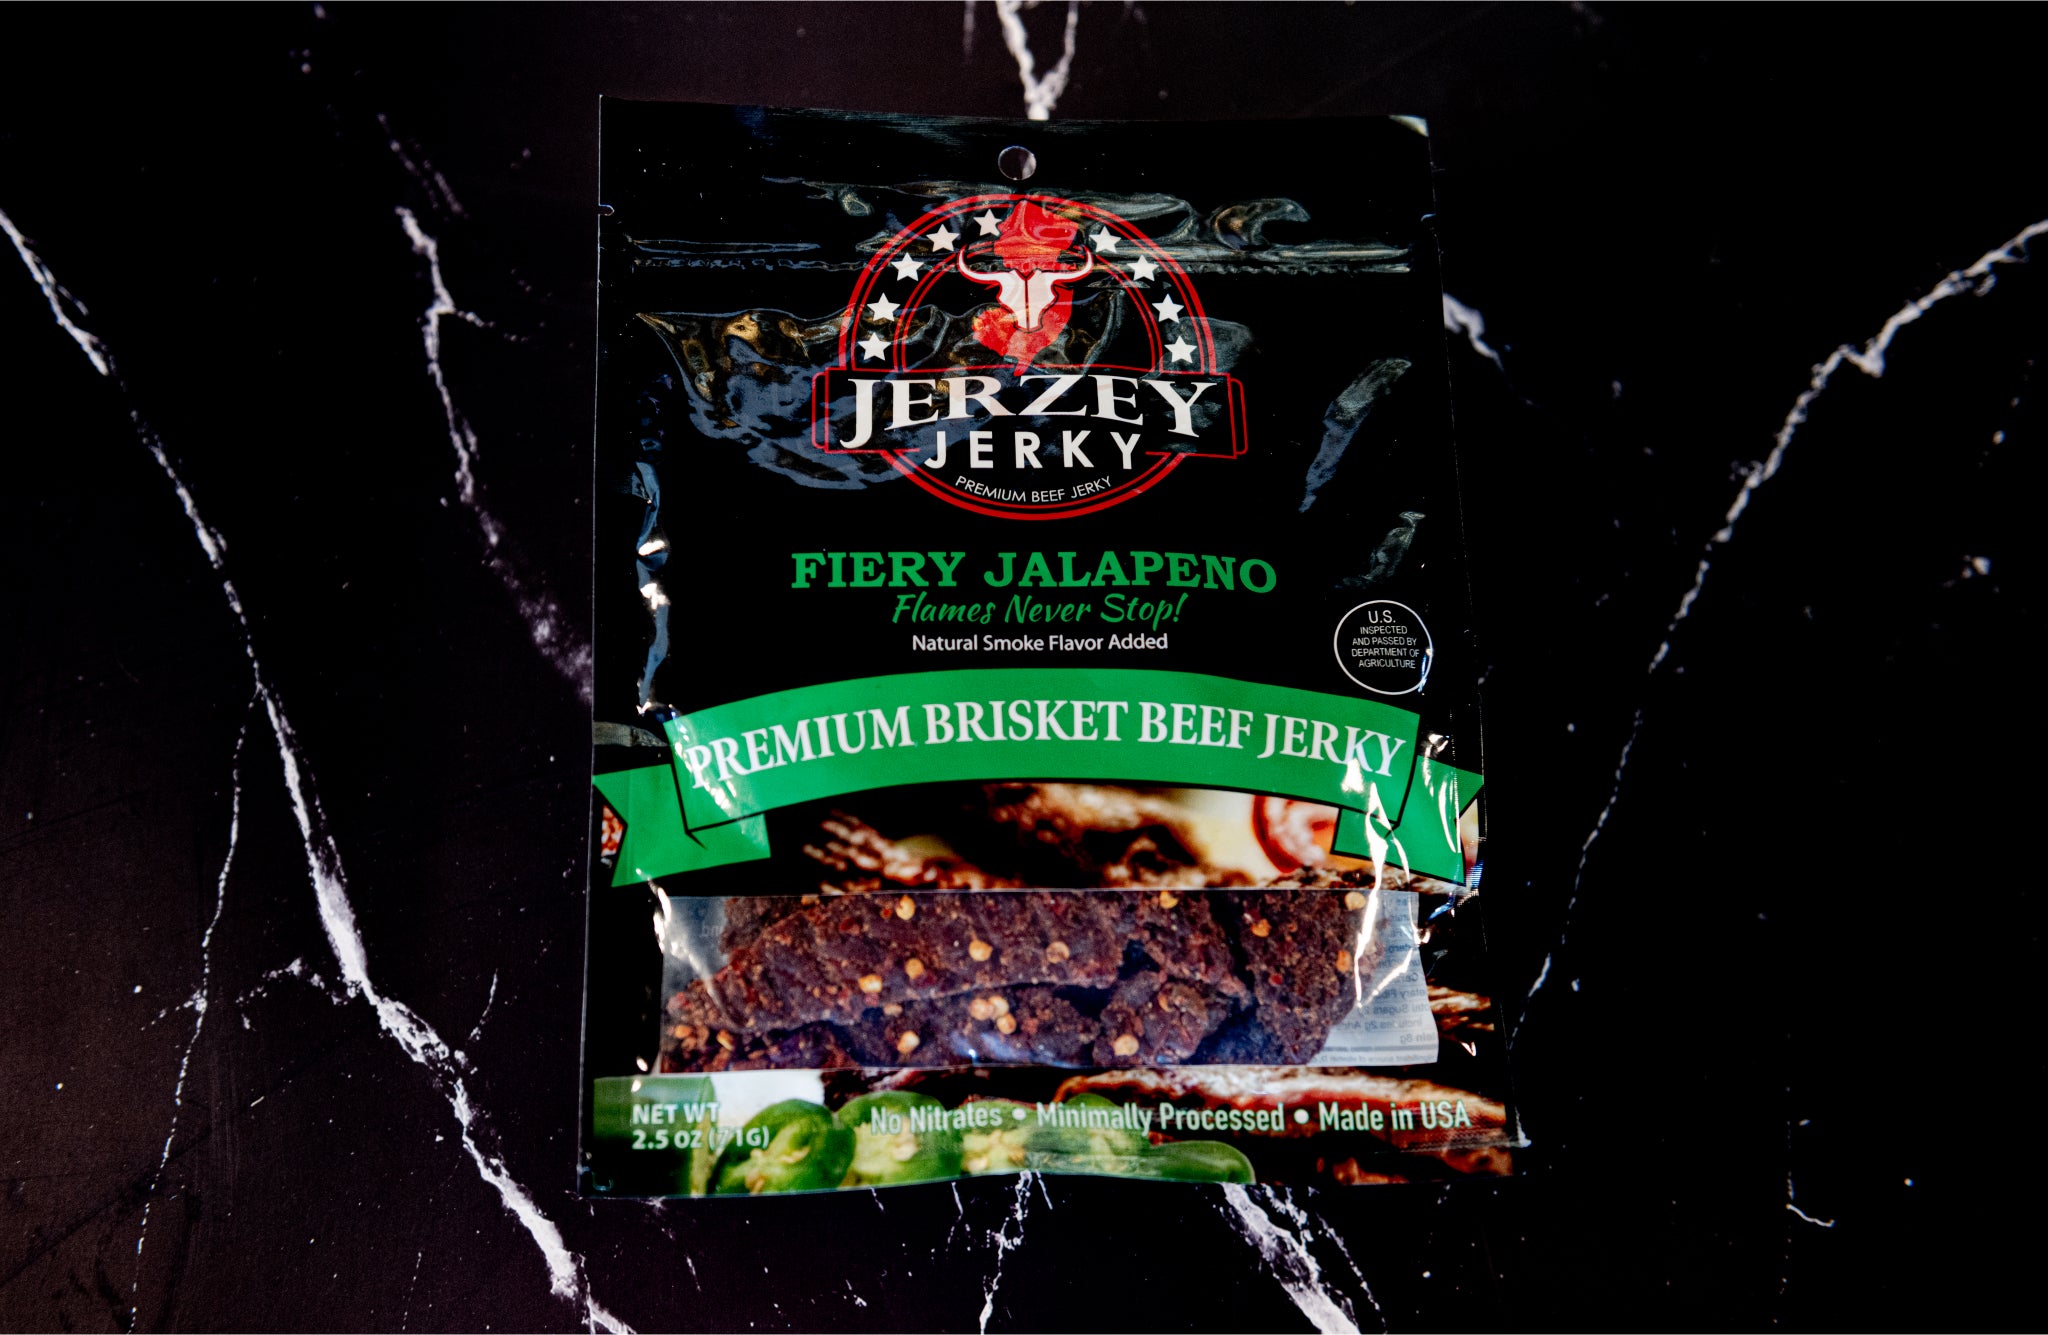
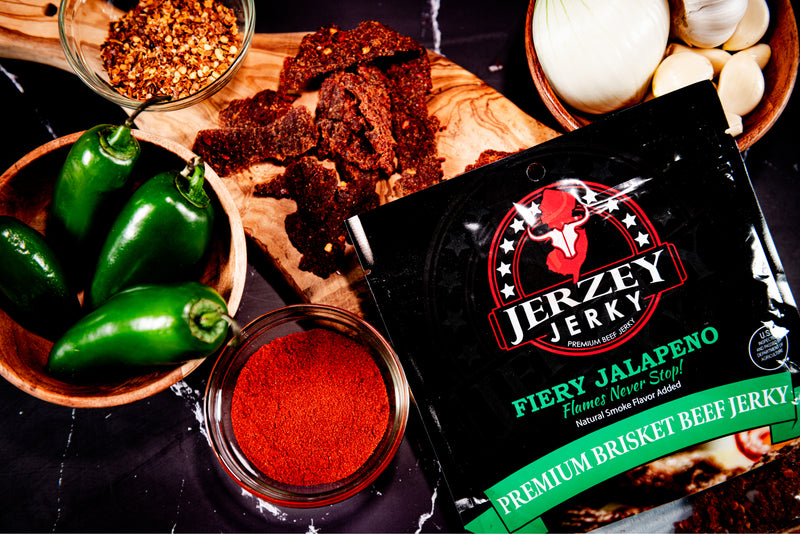
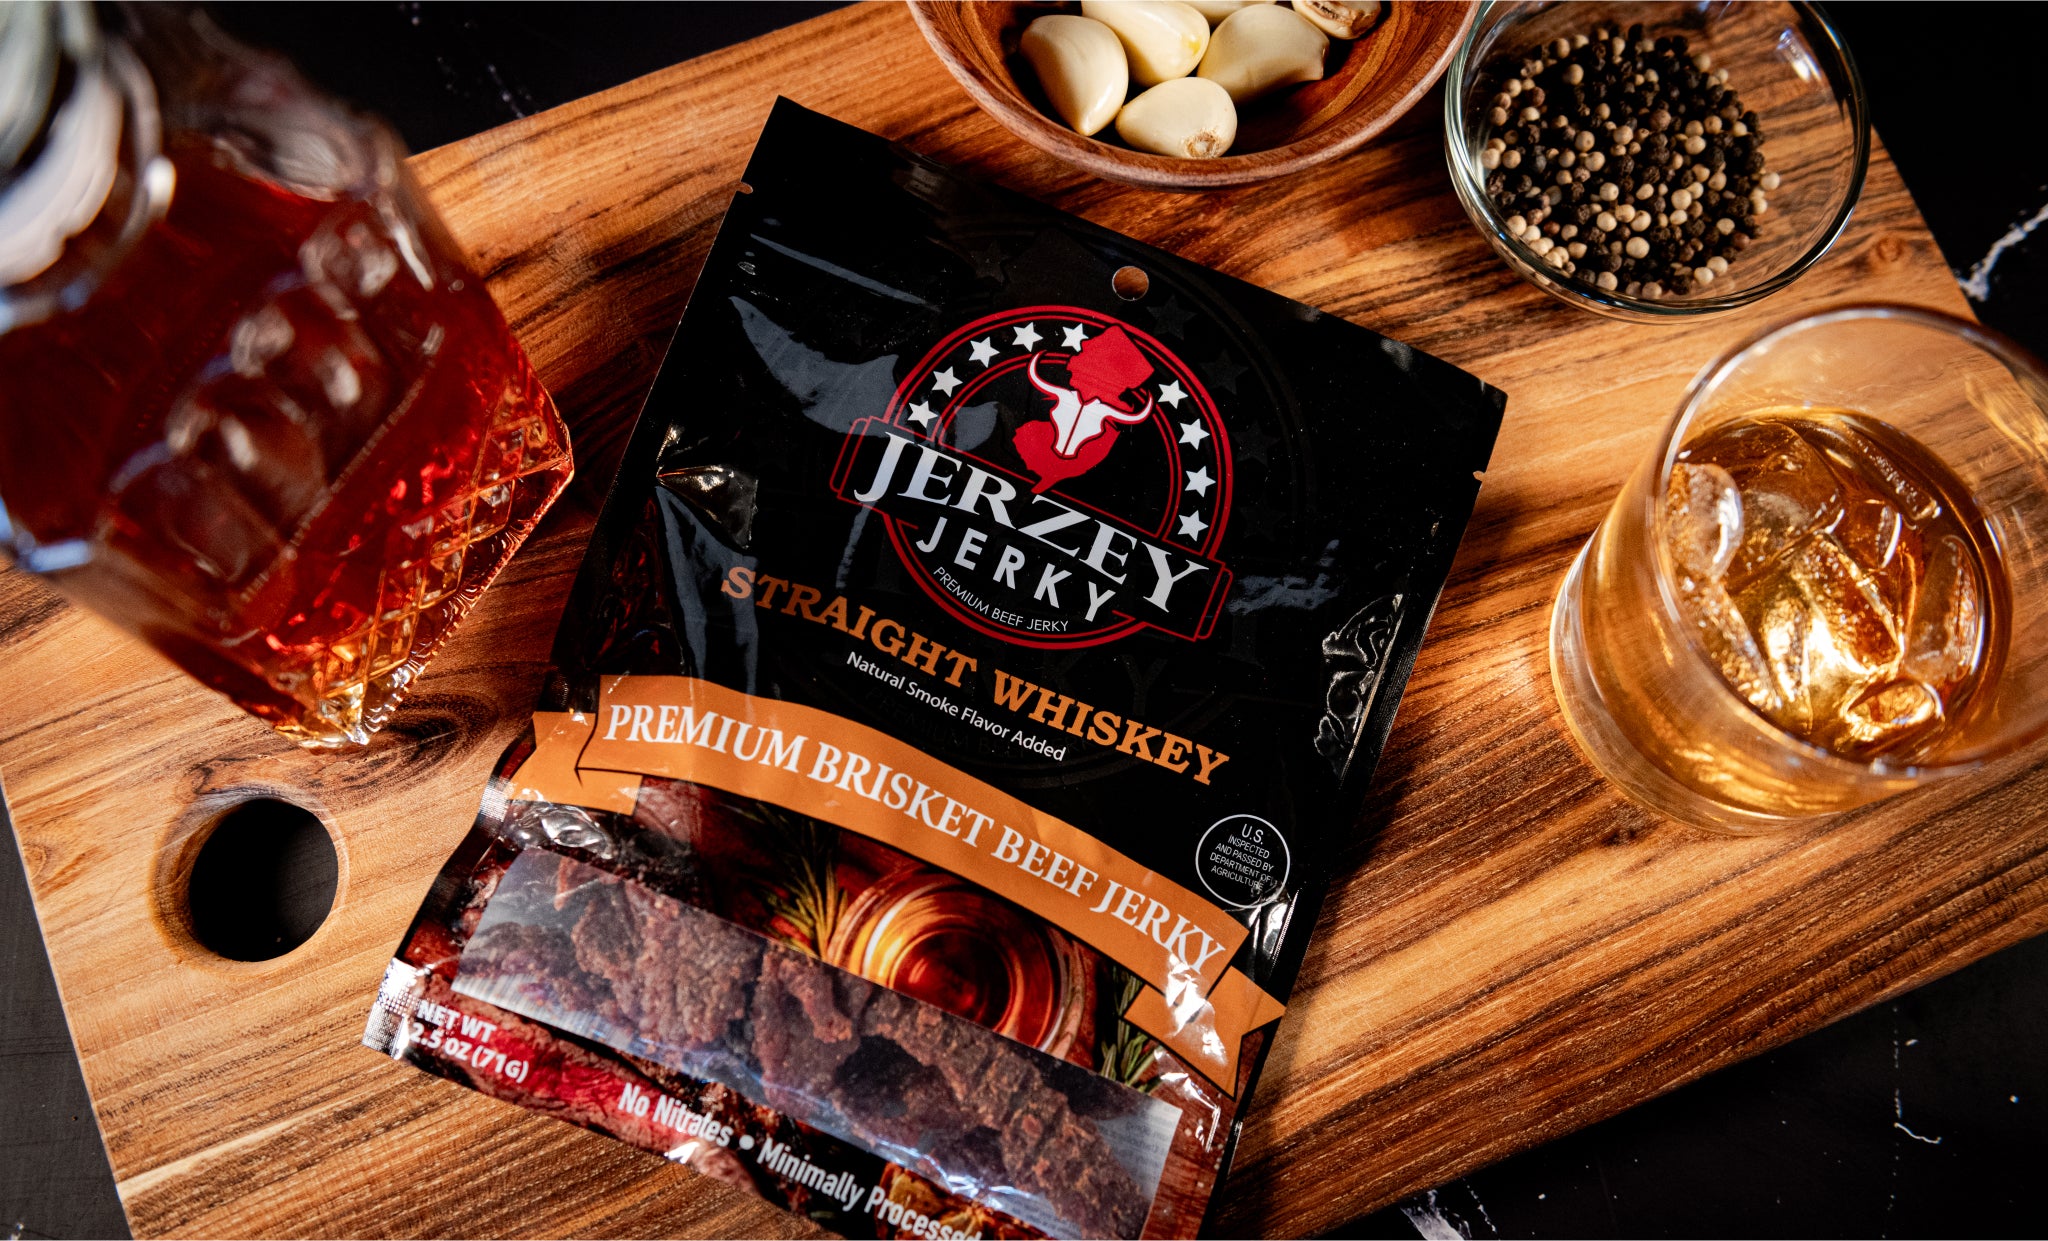
Shop the best-selling Carne Asada Beef Jerky - Brisket & Straight Whiskey Beef Jerky - Brisket !
What Do You Need to Make Beef Jerky in the Oven?
The four primary materials needed to make beef jerky in the oven are:
- Beef Selection: Beef lean slices, such as sirloin, top round or flank steak. They cut off less fat which halts spoilage. Jerkyholic advises cutting the beef 1/8 inch thick so both of them are equally dried and non-textural.
- Marinade Ingredients: The simple marinades contain Worcestershire sauce, garlic powder, soy sauce, black pepper and onion powder. The ingredients provide a salty flavor to enhance the marbling of the meat's texture and flavor.
- Optional Additions: Add brown sugar, red pepper, liquid smoke or smoked paprika. All these additions make up the variety of flavours. Jerkyholic recommends their consumption depending on your taste senses to generate more spicy to sweet or even smoked varieties of jerky.
- Essential Equipment: The equipment to be used is a cutting board, a sharp knife, a wire rack, and baking sheet, and an oven. The marinated meat is kept in a resealable bag or glass bowl. These items aid in slicing, marinating, and drying without the use of complicated machinery.
How to Prepare the Meat for Oven Beef Jerky
Here are the two most important steps to eating the meat before drying it in the oven:
- Choose the Proper Cut: Cut out any visible fat on the meat. Fat becomes rancid and lowers the durability of jerky. Only use lean cuts. The USDA preservation guidelines dictate that a full removal of fat is advisable in order to dehydrate safely with improved overall outcomes.
- Cut the Meat: Cut the beef into thin slices of 1/8 and 1/4 inch. Take against the grain to be tender. According to home-drying guidelines given by Jerkyholic, thin slices dry evenly and remain tender when dehydrated.
How to Preheat and Prepare the Oven for Beef Jerky
Here are four crucial steps in preheating the oven to dehydrate beef jerky:
- Adjust the temperature: Set the oven at a constant temperature of 160 to 175°F (71 to 79°C). This is the temperature range that eliminates moisture gradually without cooking the meat. USDA requirements also specify that it offers safe dehydration at the same time maintaining the texture of the meat.
- Line Tray: Grease the baking tray with aluminum foil. Foil collects any dripping juices of the meat and this is to ensure that they do not stick or burn on the tray. This act facilitates cleaning and also maintains a clean oven during drying.
- Set out the Meat: Lay strips of beef upon a wire rack, in a single uniform layer. Do not pile or overlap the parts. This system lets air pass through each strip systematically to ensure uniform drying, thus the risk of uneven texture or spoilage is lower.
- Allow Airflow: Open the oven door a bit with a wooden spoon. This opening enhances the air circulation and aperture within the oven. Good air flow aids the moisture to evaporate more quickly which facilitates the drying process and avoids wet jerky.
What Is the Oven Drying Time and Technique for Oven Beef Jerky?
The following are three main facts regarding drying time and method that influence the texture, safety, and taste of jerky regarding oven drying:
- Drying Duration: Put the beef strips in the oven to cook for 3 or 6 hours, depending on thickness and humidity. The drying process of thinner slices or even higher humidity is more time-consuming since moisture needs to evaporate to eliminate potential spoilage.
- Flip Evenness: Flip the strips of meat on the way to the drying. Flipping gives each side an equal exposure to heat and air. The measure curbs uneven drying and counters inconsistency in the texture of the jerky.
- Monitor Progress: After 3 hours of baking, check every 30 to 60minutes. Regular tests ensure early detection of the level of dryness. This eliminates both over-drying and under-drying, resulting in the appropriate amount of chew and/or brittleness.
How to Tell If Beef Jerky Is Prepared
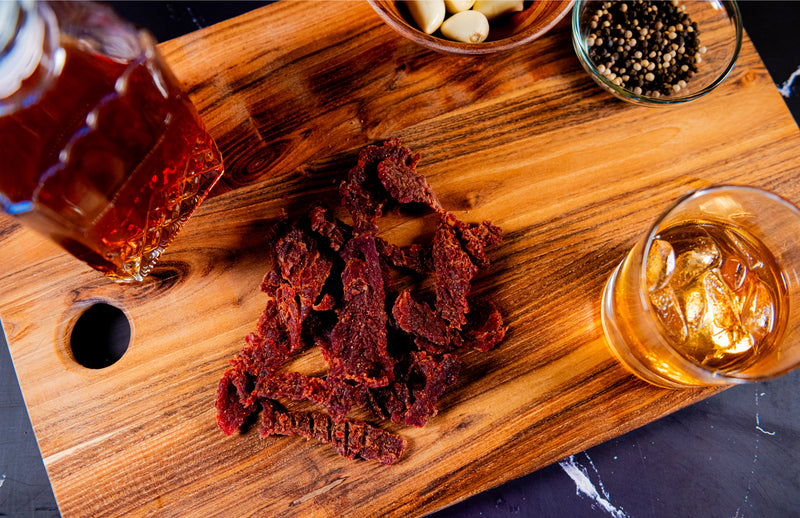
To test the jerkiness, bend a strip in a jerky manner. It flexes and breaks without snapping. This indicates the meat is dry enough to be flexible without being brittle, so it is suitable to eat.
Touch the surface and inside of the jerky. It is crusty on the outside yet chewy on the inside. The level of this texture makes the jerky neither too tough nor too wet to chew on and it has an appealing taste.
Check the surface to examine whether there is any moisture. When the jerky is dried properly, it does not appear wet or shiny. The absence of visible moisture means safe drying and contributes to making the jerky last a long time without spoiling.
How Should You Cool and Store Beef Jerky Properly?
The following are two essential measures to make beef jerky hygienic after drying:
- Cooling: Put jerky on a wire rack and allow to cool thoroughly then store in containers. Rack cooling ensures that air continues to flow around the meat preventing condensation. Condensation moisture promotes mold and leads to shorter shelf life.
- Storing: Place jerky in airtight containers like glass jars, vacuum-sealed bags, or ziplock bags after storing them in a cool place. Keep these containers in a dry place out of direct sunlight. Jerky under such circumstances lasts 1 to 2 months without a change of taste or texture.
What Are the Common Mistakes to Avoid While Making Beef Jerky in the Oven
Thickly sliced meat dries unevenly. Thick slices take longer to dry on the inside and they spoil and do not have a uniform texture.
It accelerates the process of rancidity by leaving fat on the meat. Fat goes faster and reduces shelf life.
Jerky that is overcooked eliminates excess moisture. This brings about a dry crumbly taste that is not appealing to the mouth.
Failure to dry meat completely enables the growth of bacteria. Less than adequate drying results in the moisture that encourages the growth of bad microbes posing a threat to the safety of the food.
 2025-07-23
 Wayne Holland

